
Formatting a book with Atticus is a breeze. It's far simpler than using Scrivener or Word, and just as easy as Vellum (if not easier). Atticus is also half the price and available on Windows).
Atticus stands out by offering cross-platform compatibility. Unlike some competitors, it's available on Windows, Mac, and even mobile devices, giving you the flexibility to work on your book formatting wherever you are. And if you ever need help, Atticus offers robust customer support to ensure you can create the perfect formatted book.
If you’re looking to format your book in Atticus, say no more. We’ve got a comprehensive walkthrough of the formatting capabilities, coming right up.
- How to create a book in Atticus
- How to fill out the meta data
- How to use the word process
- How to use Atticus’ theme builder
- How to finalize important formatting settings
- How to export your finished book
Common Formatting Challenges Solved
Atticus addresses several pain points authors typically face:
- Consistent chapter formatting across your book
- Easy creation of professional-looking front and back matter
- Seamless integration of images and special formatting elements
Step 1: Create a Book
If you haven’t already, it’s time to actually create the book in Atticus.
To do this, open up the Atticus dashboard and select New Book (if you have the manuscript saved as a different file elsewhere, you can also select Upload).
When you hit New Book, you’ll be given three fields to fill out: Name, Author, and Project.
- Name: This is the name of your book. You do not have to include the subtitle here if your book has one.
- Author: This is the official name or pen name of the author.
- Project: For most people, this will be your series. But you can also have projects based on pen name, world, or any other way you want to group your books.

None of these fields are required, and you an change them at any time, so don’t worry if you don’t have a title or series name yet.
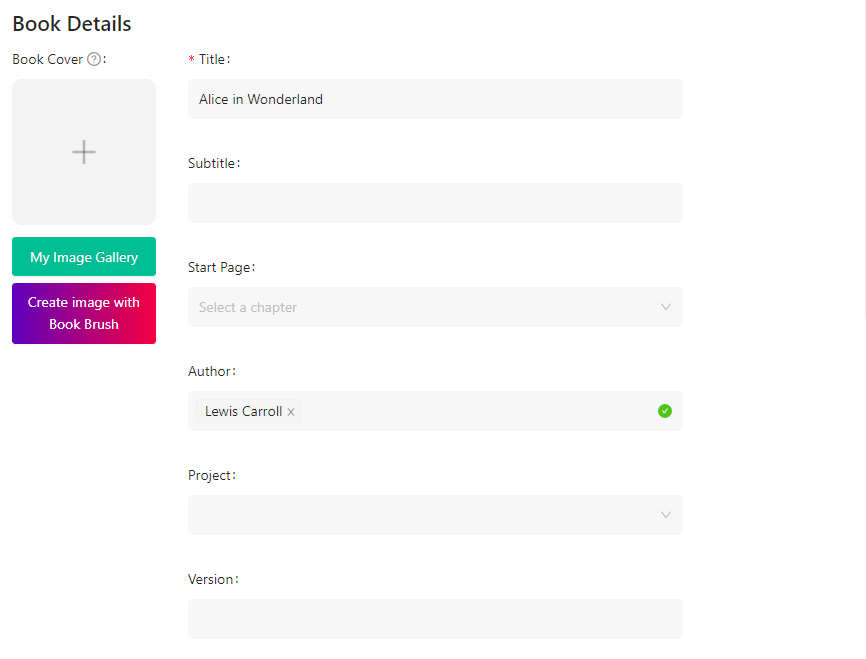
Step 2: Enter Book Details
Next, it’s time to actually start building out the details of your book. You can start by going to the Book Details page by clicking on the tile in the upper left-hand corner of the screen with your book title on it.
This is where most of your meta data for your book lives.
There are a number of fields that you can fill out from here, several of which will also be used on an auto-generated Title Page.
- Book Cover: This is where you upload your books image. It’s fine to leave it blank until you have a cover ready.
- Title/Author/Project: These should already be filled out but can be changed here.
- Subtitle: If your book has a subtitle, this is where you enter it.
- Custom TOC Title: If you want your table of contents to have a title different than the default, you can change that here.
- Language: Select English or whatever the language of your book is.
- ISBN: If you have a custom ISBN for ebook or print, you can put it here.
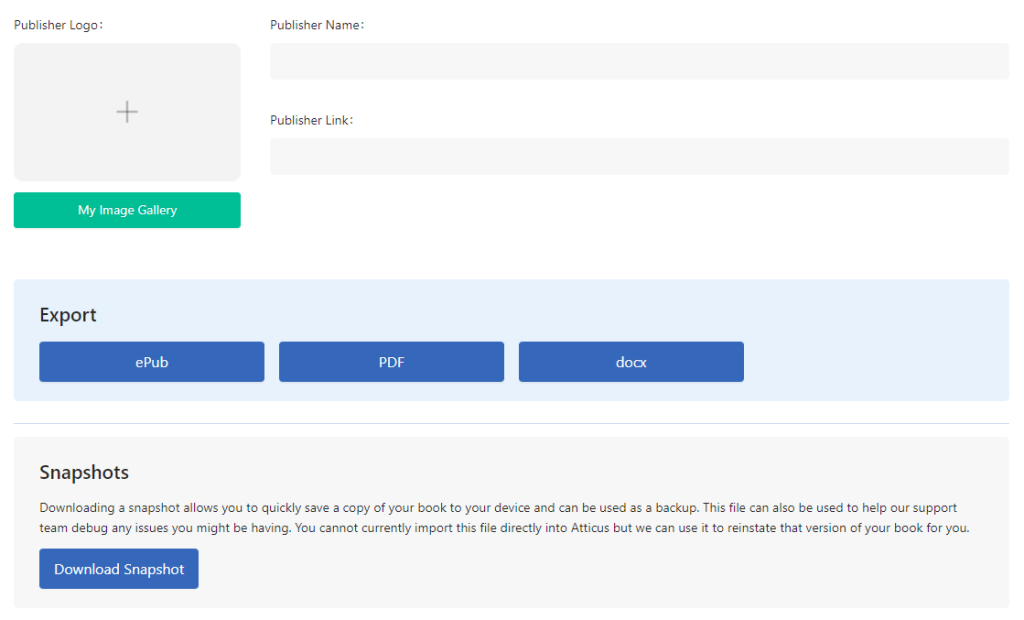
- Publisher Info: Here you can add a logo, the name, and a link to the publisher. If you have a company name, you can put it here, or you can use your own name and link to your website.
- Export Options: This is one of the areas where you can choose to export your book. From here you can export as EPUB, PDF, and DOCX (this is the only place to export DOCX).
- Snapshots: This is where you can download a backup file of your book.
In addition to these details, you can also add more about the publisher. Including a publisher logo,
You won’t need to fill in all of this information right away, but it’s important to have a sense of what’s available to you, and where you can find what.
Step 3: Upload an Existing Book or Write From Scratch
Now comes the part that you’ve been waiting for, the actual writing. When you’re writing in Atticus, you can just get started and fill things out as you go. Or you can upload a book from DOCX or RTF formats which will be autofilled in the correct spaces.
Using Atticus, you can create separate “elements” to coordinate the front matter, body, and back matter of your book. These are the building blocks of what will eventually become your beautifully-formatted book.
Here is a list of the different elements found in Atticus:
Front Matter
- Copyright (includes a basic template but can be modified)
- Title (automated but can be replaced by an image created in BookBrush or Canva to match the cover page)
- Blurbs
- Dedication
- Epigraph
- Foreword
- Introduction
- Preface
- Prologue
Body
- Chapter
- Full Page Image
- Custom (for unique needs)
Back Matter
- Epilogue
- Afterword
- Aknowledgements
- About Author
- Also By
For a detailed breakdown of what each of these parts of a book represents, visit our master guide on the subject.
Additionally, you can add your own custom chapter titles and subtitles to each chapter, as well as the front and back matter, so it will say whatever you want it to say in the heading.
With Atticus's intuitive interface, organizing your book's structure is as simple as dragging and dropping elements into place.
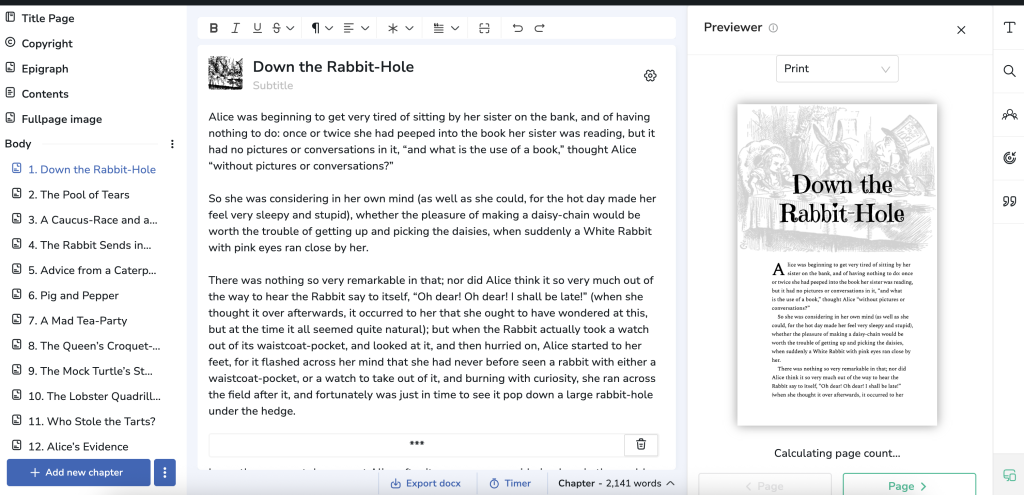
Step 4: Format Your Text
Next, let’s look at all the different formatting tools within the Atticus word processor. There are several that you should know about:

- Undo/Redo: These are standard keys that let you undo or redo certain tasks, so you can keep from making permanent mistakes.
- Chapter Splitting: This lets you split the chapter in two, starting from wherever your cursor is set.
- Endnotes: If you want to create an endnote, this is where you would do it.
- Alignment: You have the standard options to align left, right, or center. Plus this is also where you can adjust the styling for quotes and verse.
- Block Quote and Verse: Right next to the Alignment section is a space where you can convert a piece of text into a block quote or verse format.
- Image: You can add images of any size or shape, with several options on sizing and alignment within the text.
- Ornamental Breaks: This is where you select where the ornamental breaks go. These are scene dividers that create an artistic break between scenes.
- Links: This is where you can add links in your text.
- Lists: You can create ordered or unordered (bulleted) lists here.
- Subheadings: Atticus lets you create a special format for your subheadings using this button.
- Advanced Settings: There are a few other advanced settings found here with endnotes and monospace, small caps, and other such options. Most of these will not be needed in most circumstances.
- Text Formatting: And of course, you have your standard options to bold, italicize, and underline selected text.
So in this step, all you have to do is run through your manuscript and see if it needs any of these in-text formatting capabilities.
Certain features like subheadings, ornamental breaks, and quotes are likely to be needed for many of you. And other features like images and links are very likely to be used in back matter.
Be sure to run through everything and make sure you’ve formatted everything as needed.
Step 5: Choose Your Theme
Now comes the fun part! In this step, we’ll move on to the themes and custom theme builder. Now, there is a lot of capability here, and you won’t necessarily need all of it.
For many of you, all you might need is a pre-built theme and you’re done! But keep reading if you want to customize these things, or build you own with the full capabilities of Atticus.
First, start by hitting the “Formatting” button in the top center.

You will then see the list of pre-built themes that you can choose from. These themes are designed to fit many genres, and it’s highly likely that most authors will find one of these that will work for you.
This area also comes with a device previewer that will show you what your book will look like with these themes.
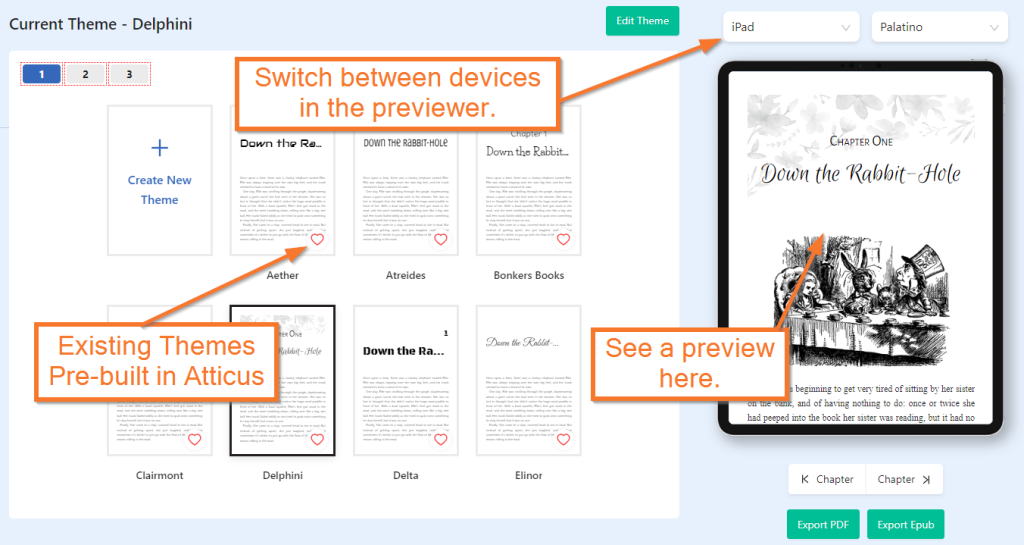
If you want to customize your own theme, however, just select “Create Custom Theme” in the top right corner and it will open up a page with several clear steps to build your theme. Let’s walk through these:
1. Choose a General Layout
This is where you will select the overall look of the chapter theme, including whether or not you have a numbered title, title, subtitle and image. This is also where you can select the font of the title, the alignment and more.

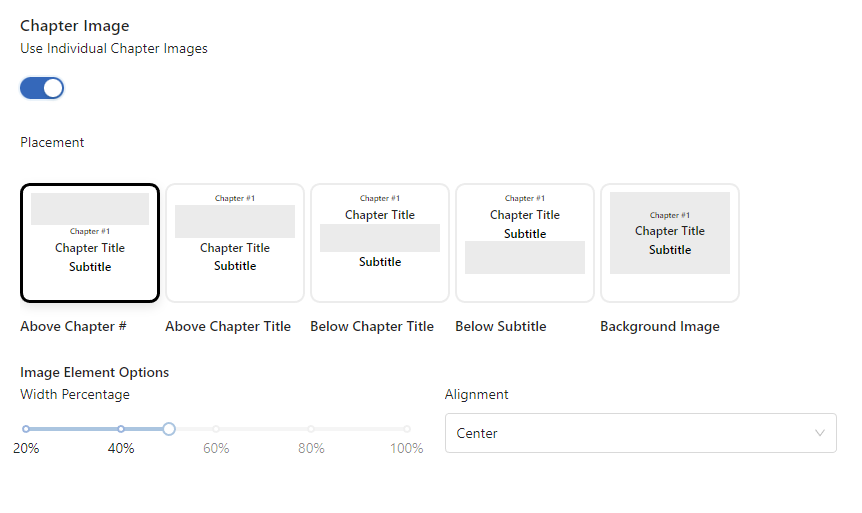
2. Chapter Image Adjustment
If you’ve chosen a general layout that uses an image, step 2 will let you arrange the layout of that image. You can also include an individual image for each chapter with the toggle button.
Note that if you choose not to have an image, this section will not appear.
3. Chapter Heading Settings
Next comes a section that gives you the ultimate flexibility. This is where you choose all the different fonts, sizes, alignments, widths, etc. for each element included on the chapter theme, including:
- Chapter Number
- Chapter Title
- Chapter Subtitle
- Header
- Footer

The header and footer refers to the text found at the top and bottom of each page, including the page numbers. So if you want a special size and font for your page numbers, you can have them.
Note: this is only for the print version of a book.
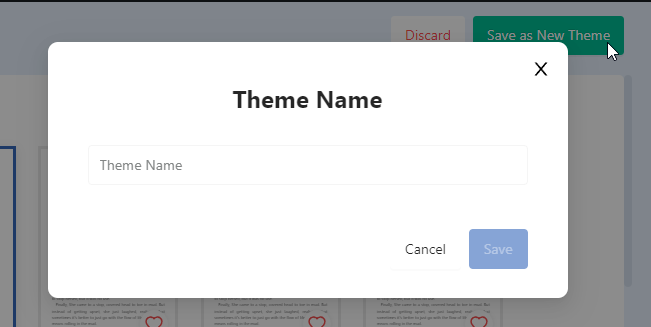
4. Name Your Theme
Lastly, you have the simple task of naming your theme. Once you’ve hit “Save as New Theme”, you can then give it a theme name. It will then show up in your list of themes.
Step 6: Adjust Formatting Settings (As Needed)
In addition to the theme builder, there are a couple of additional settings that you should get to know.
Some of these are pre-set for you, and others are for print only, but you might want to consider adjusting them to match the tone that you’re going for.
This area is divided into several subsections, so let’s break each of those down:
1. Paragraph Settings
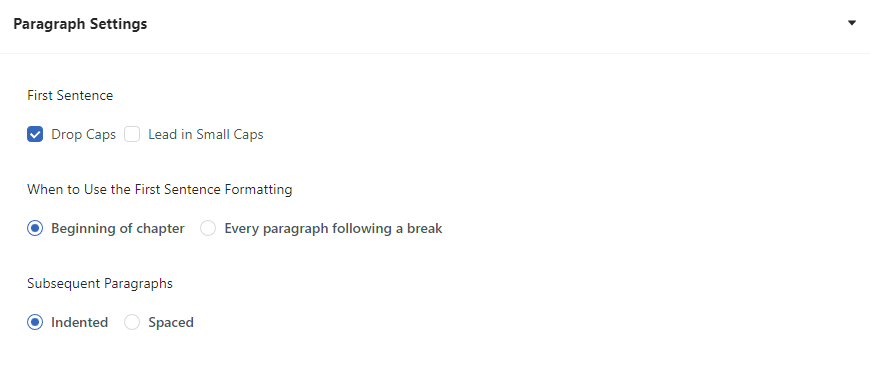
Use this to adjust small stylistic changes like having your first few words of each chapter capitalized, or whether your paragraphs should be separated by a space or with an indent.
2. Scene Break Settings
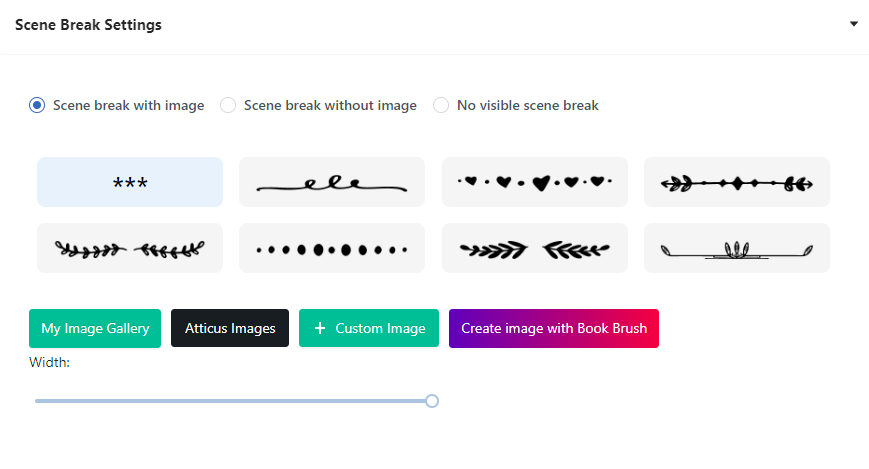
This is where you select the style of your ornamental breaks. If you’ve followed these steps, you should have placed the ornamental breaks in Step 3, but you can adjust the style for all of them here.
Atticus has a wide variety of pre-built ornamental breaks. But you can also upload your own in this section with a custom image.
3. Print Settings
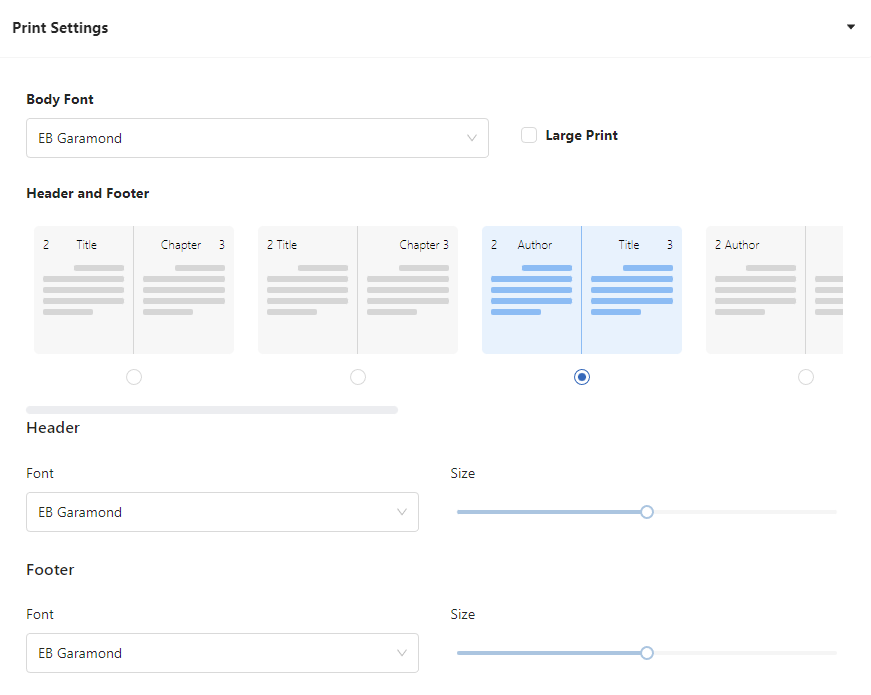
In this section, you can establish what you want your header and footer to look like, and what exactly is displayed on each side of the page, from the name of the book, the author, the name of the chapter, etc.
You can also select the font for your body text, and select the print size for your print books. Atticus generates files fully compatible with major retailers and print-on-demand services, including the latest requirements from Amazon KDP and IngramSpark.
4. Notes Settings

If your book contains footnotes or endnotes, you can adjust the settings for those as well. These will affect both ebook and print editions, depending on your settings.
5. Advanced Settings
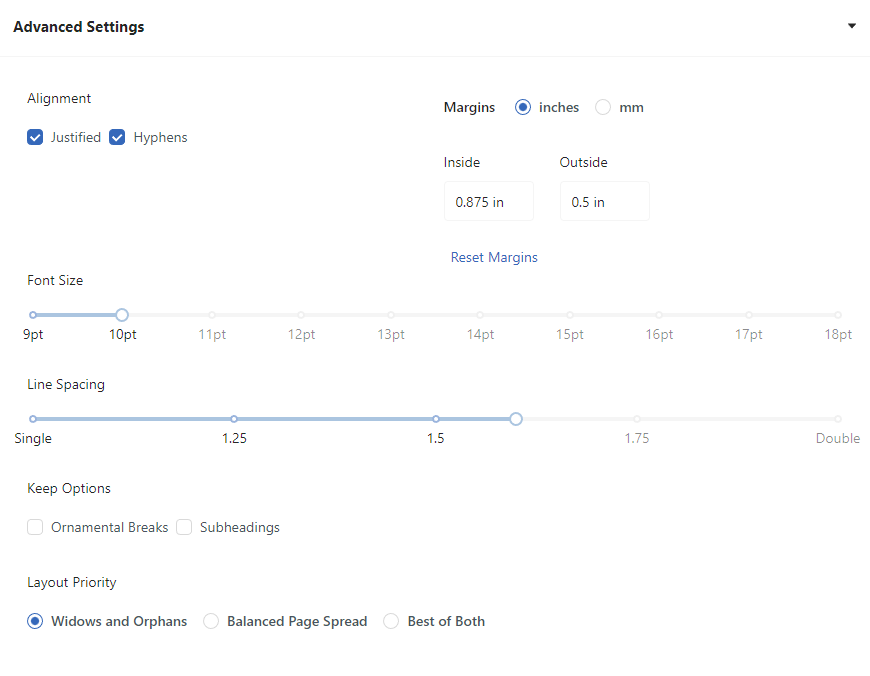
And finally, we have the advanced settings, where you will select preferences such as your manuscript’s alignment, print margins, font size, line spacing, and more.
You can even adjust the layout priority to prioritize widows and orphans, a balanced page spread, or the best of both.
Step 7: Export!
Now has finally come the time to export your book!
Atticus has several export options, including:
- EPUB: This is the most common ebook format, and the most recommended for uploading to Amazon or other ebook retailers.
- PDF: This is the print file for your book, formatted to include the correct margins, trim, and other formats based on your settings.
- DOCX: We recommend exporting to DOCX in order to collaborate with editors, audiobook narrators, etc., rather than uploading to Amazon, as DOCX exporting does not retain the formatting.
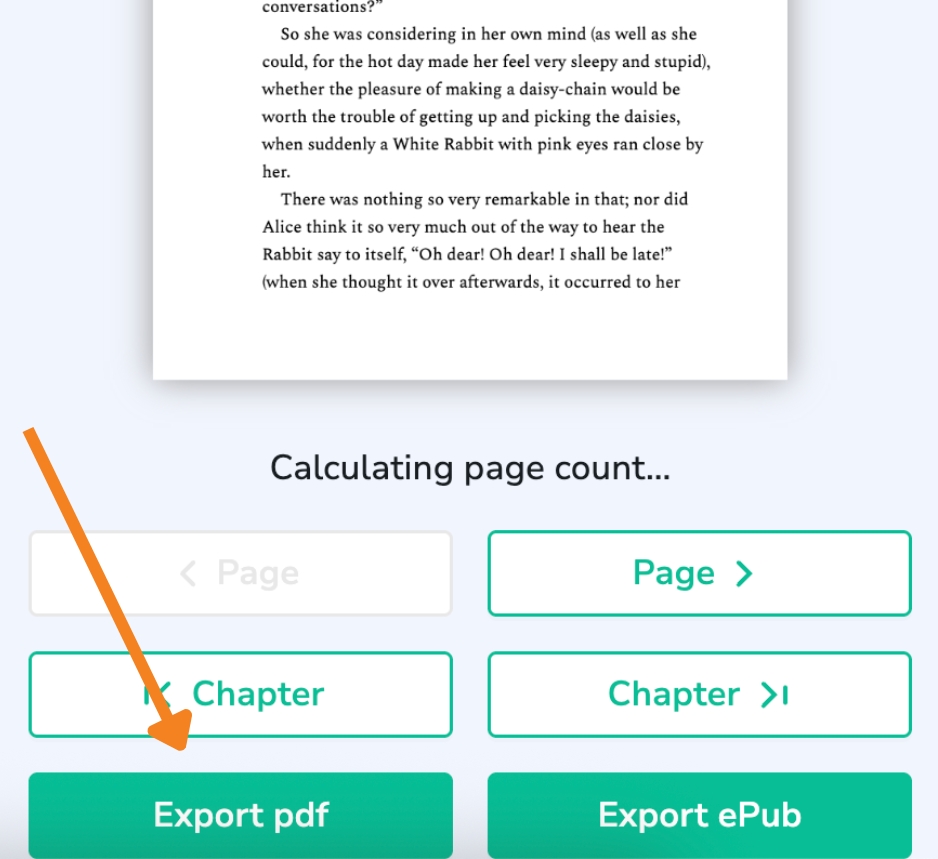
There are two main locations where you can export. You can do so either from the formatting settings area, where it is located on the right, under the devices previewer:
Or you can find it in the Book Details area, which is also where you go if you want to export to DOCX.
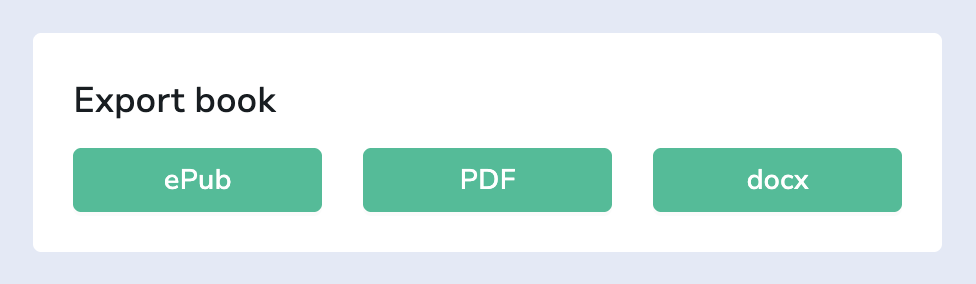
For all three formats, you can click and download immediately.
This is where Atticus excels in collaborative workflows. The DOCX export feature allows seamless collaboration with editors, proofreaders, and even audiobook narrators. You can easily incorporate their feedback without losing your formatting work.
And you’re done! You now hold in your figurative digital hands a beautifully formatted book.
Enjoy!
Final Thoughts: How to Format with Atticus
As you can see, the process of formatting a book in Atticus is simple. But, if you ever have any trouble, you can view some of our tutorials or contact our incredible support team to help.
And if by some odd chance you haven’t picked up Atticus, what are you waiting for?


